Set Up a Hetzner VPS
for OpenClaw
A step-by-step walkthrough with real screenshots. No server experience needed — just follow along.
| Use Case | Plan | RAM | CPU | SSD | Est. Price |
|---|---|---|---|---|---|
| LITE 1 bot, personal use | CPX22 | 4 GB | 3 vCPU | 80 GB | ~$6.59/mo |
| HEAVY Multiple bots, production | CPX32 | 8 GB | 4 vCPU | 160 GB | ~$12/mo |
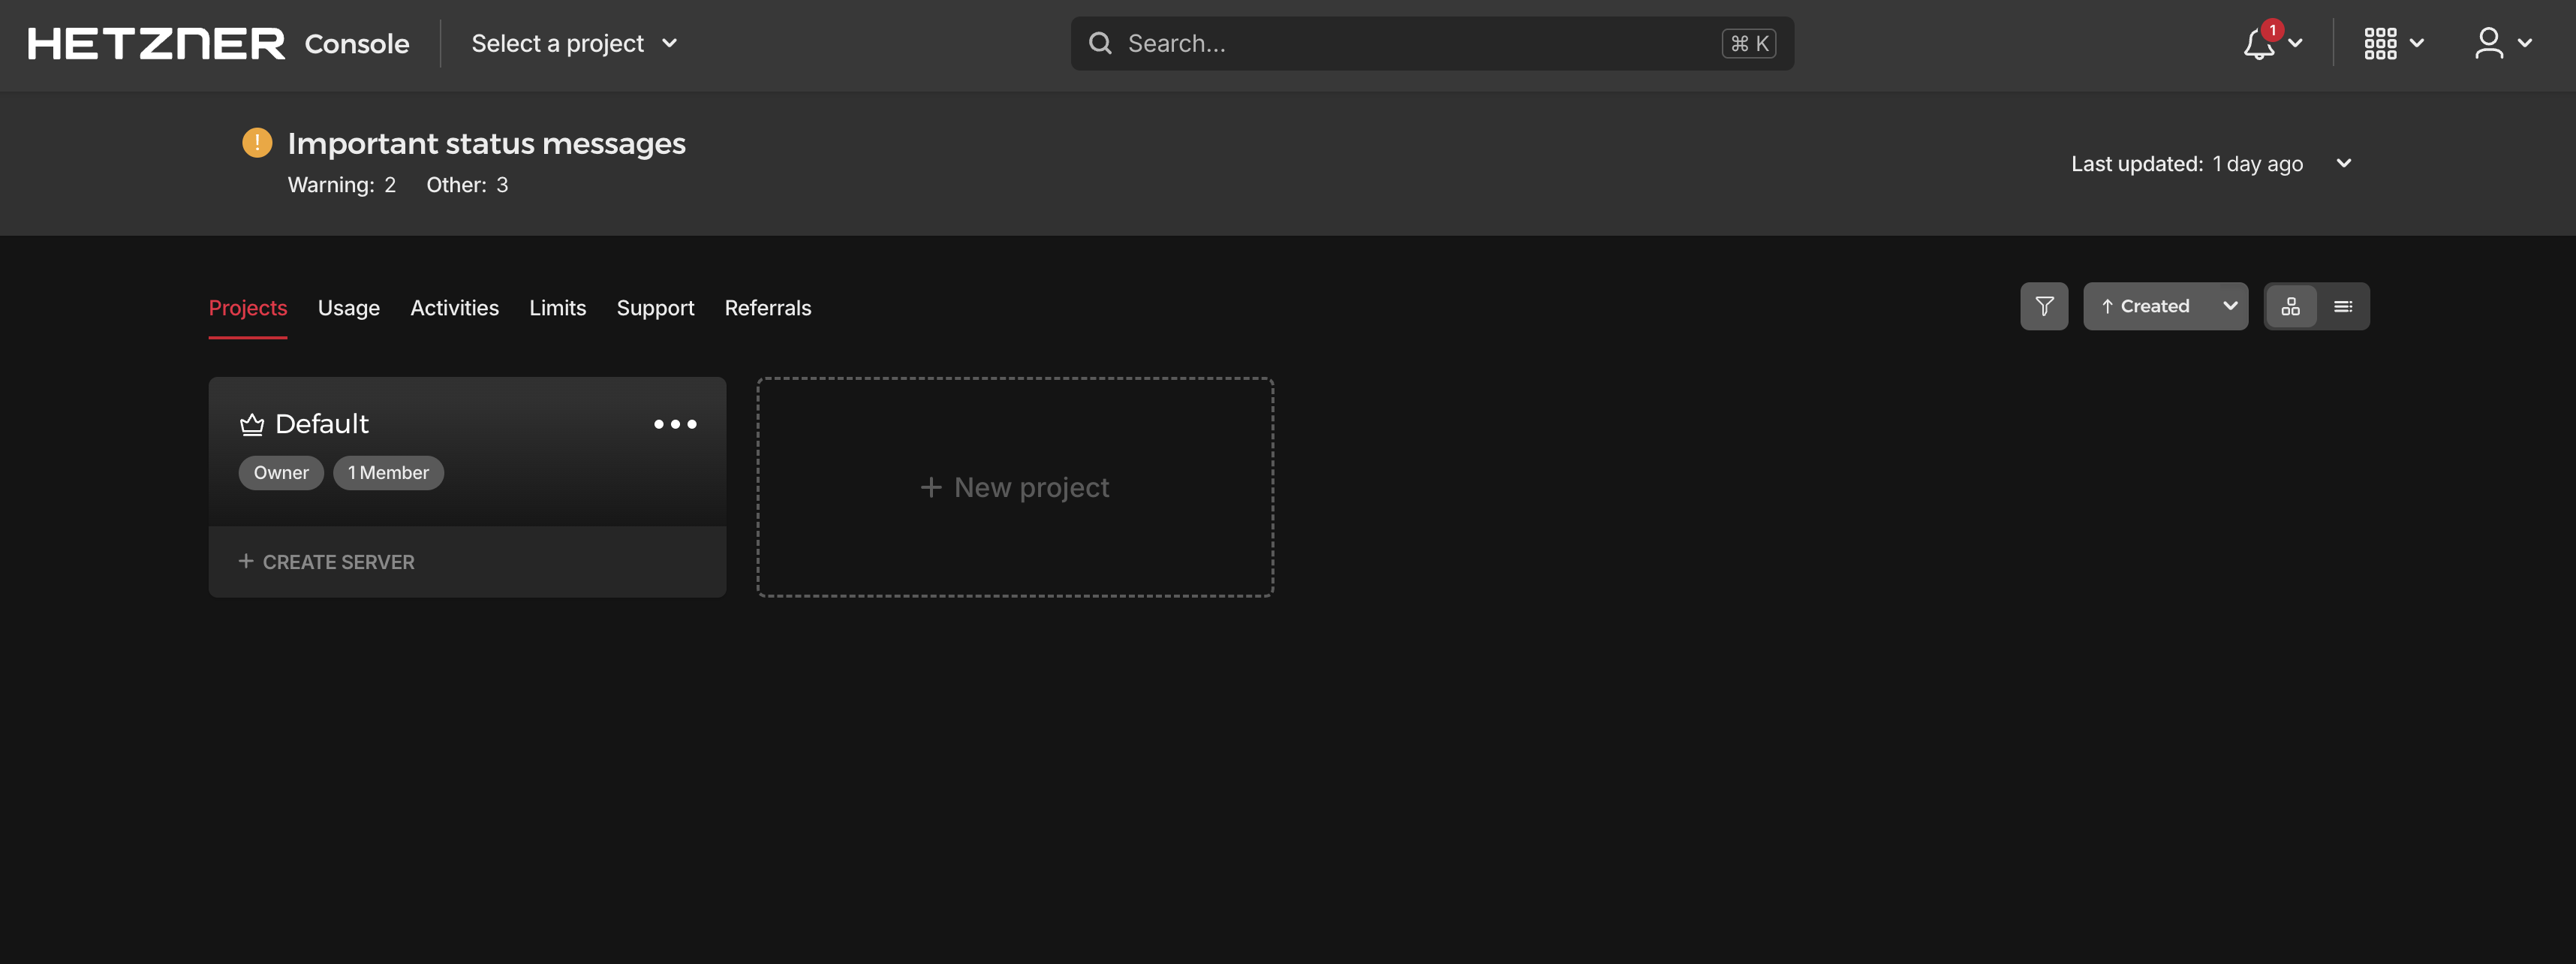
Create your Hetzner account
Go to hetzner.com. In the top-right navigation, click Login → Console. On the login screen, click Register now if you don't have an account.

Fill in your email and a strong password. Complete the contact info and payment screens that follow.

Generate your SSH key pair
SSH keys replace passwords for server login — more secure, more convenient. One command creates two files: a private key (never leaves your machine) and a public key (you give this to Hetzner).
ssh-keygen -t ed25519 -C "openclaw" -f ~/.ssh/openclaw_key
- →When asked for a passphrase: press Enter twice to skip, or type one for extra security
- →Two files appear in
~/.ssh/—openclaw_key(private) andopenclaw_key.pub(public)
Now print your public key so you can copy it:
cat ~/.ssh/openclaw_key.pub
The output will look something like this — copy the entire line:
ssh-ed25519 AAAAC3NzaC1lZDI1NTE5AAAAI... openclaw
~/.ssh/openclaw_key). You'll need this if you ever change machines.C:\Users\YourName\.ssh\Create your server
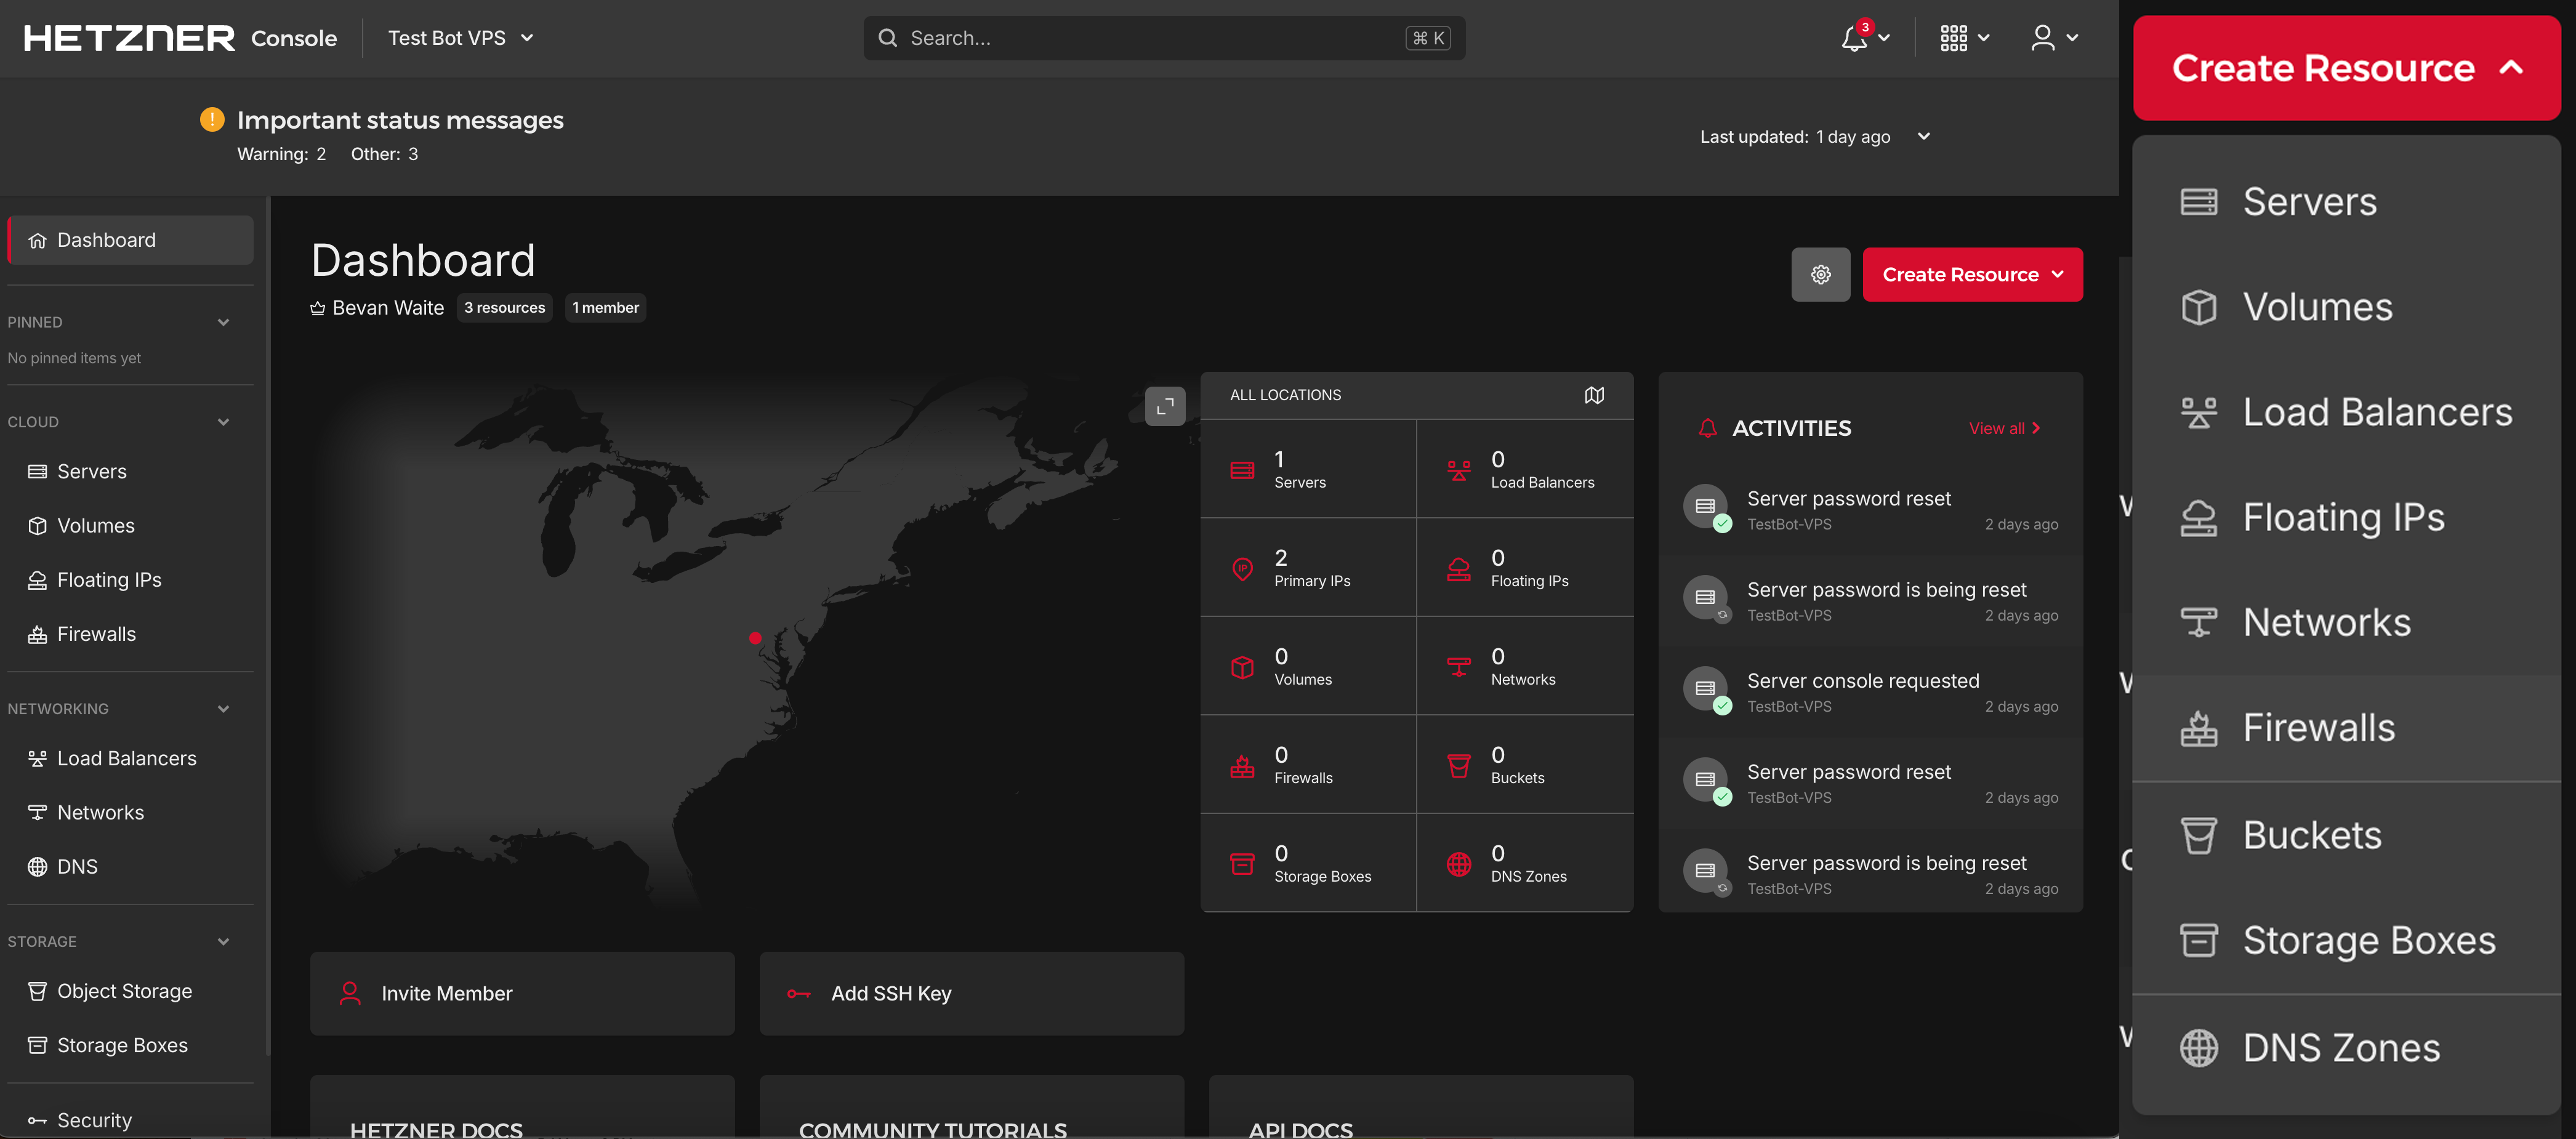
After logging in you'll land on your project dashboard. Rename the default project to something descriptive like OpenClaw (click the ⋯ menu on the project card). Then click Create Server under that project.
Select Regular Performance under Shared Resources. Best price/performance for OpenClaw. Architecture: x86 (AMD).

Scroll down in that section to the server list and select CPX22 (lite) or CPX32 (heavy):

Pick the region closest to you or your users. Any works fine.

Select Ubuntu, then use the version dropdown to switch from 24.04 → 22.04 LTS. OpenClaw is tested on 22.04.

Leave Public IPv4 and Public IPv6 both checked. No private networks needed.
This is critical. Without it, Hetzner emails you a root password instead — less secure. Click + Add SSH key:


After adding, your key appears as a card. Make sure it's selected (red border = selected):

We'll set up the firewall separately after the server is running (Step 5). For now:
- →Volumes — skip, not needed
- →Firewalls — skip for now, we'll add one after creation
- →Backups — optional but recommended (+20% of server price ≈ $1/mo for CPX22)
- →Cloud config / Labels / Placement groups — skip all
Give it a name (e.g. openclaw-prod) and click Create & Buy now. The server is ready in about 30 seconds.


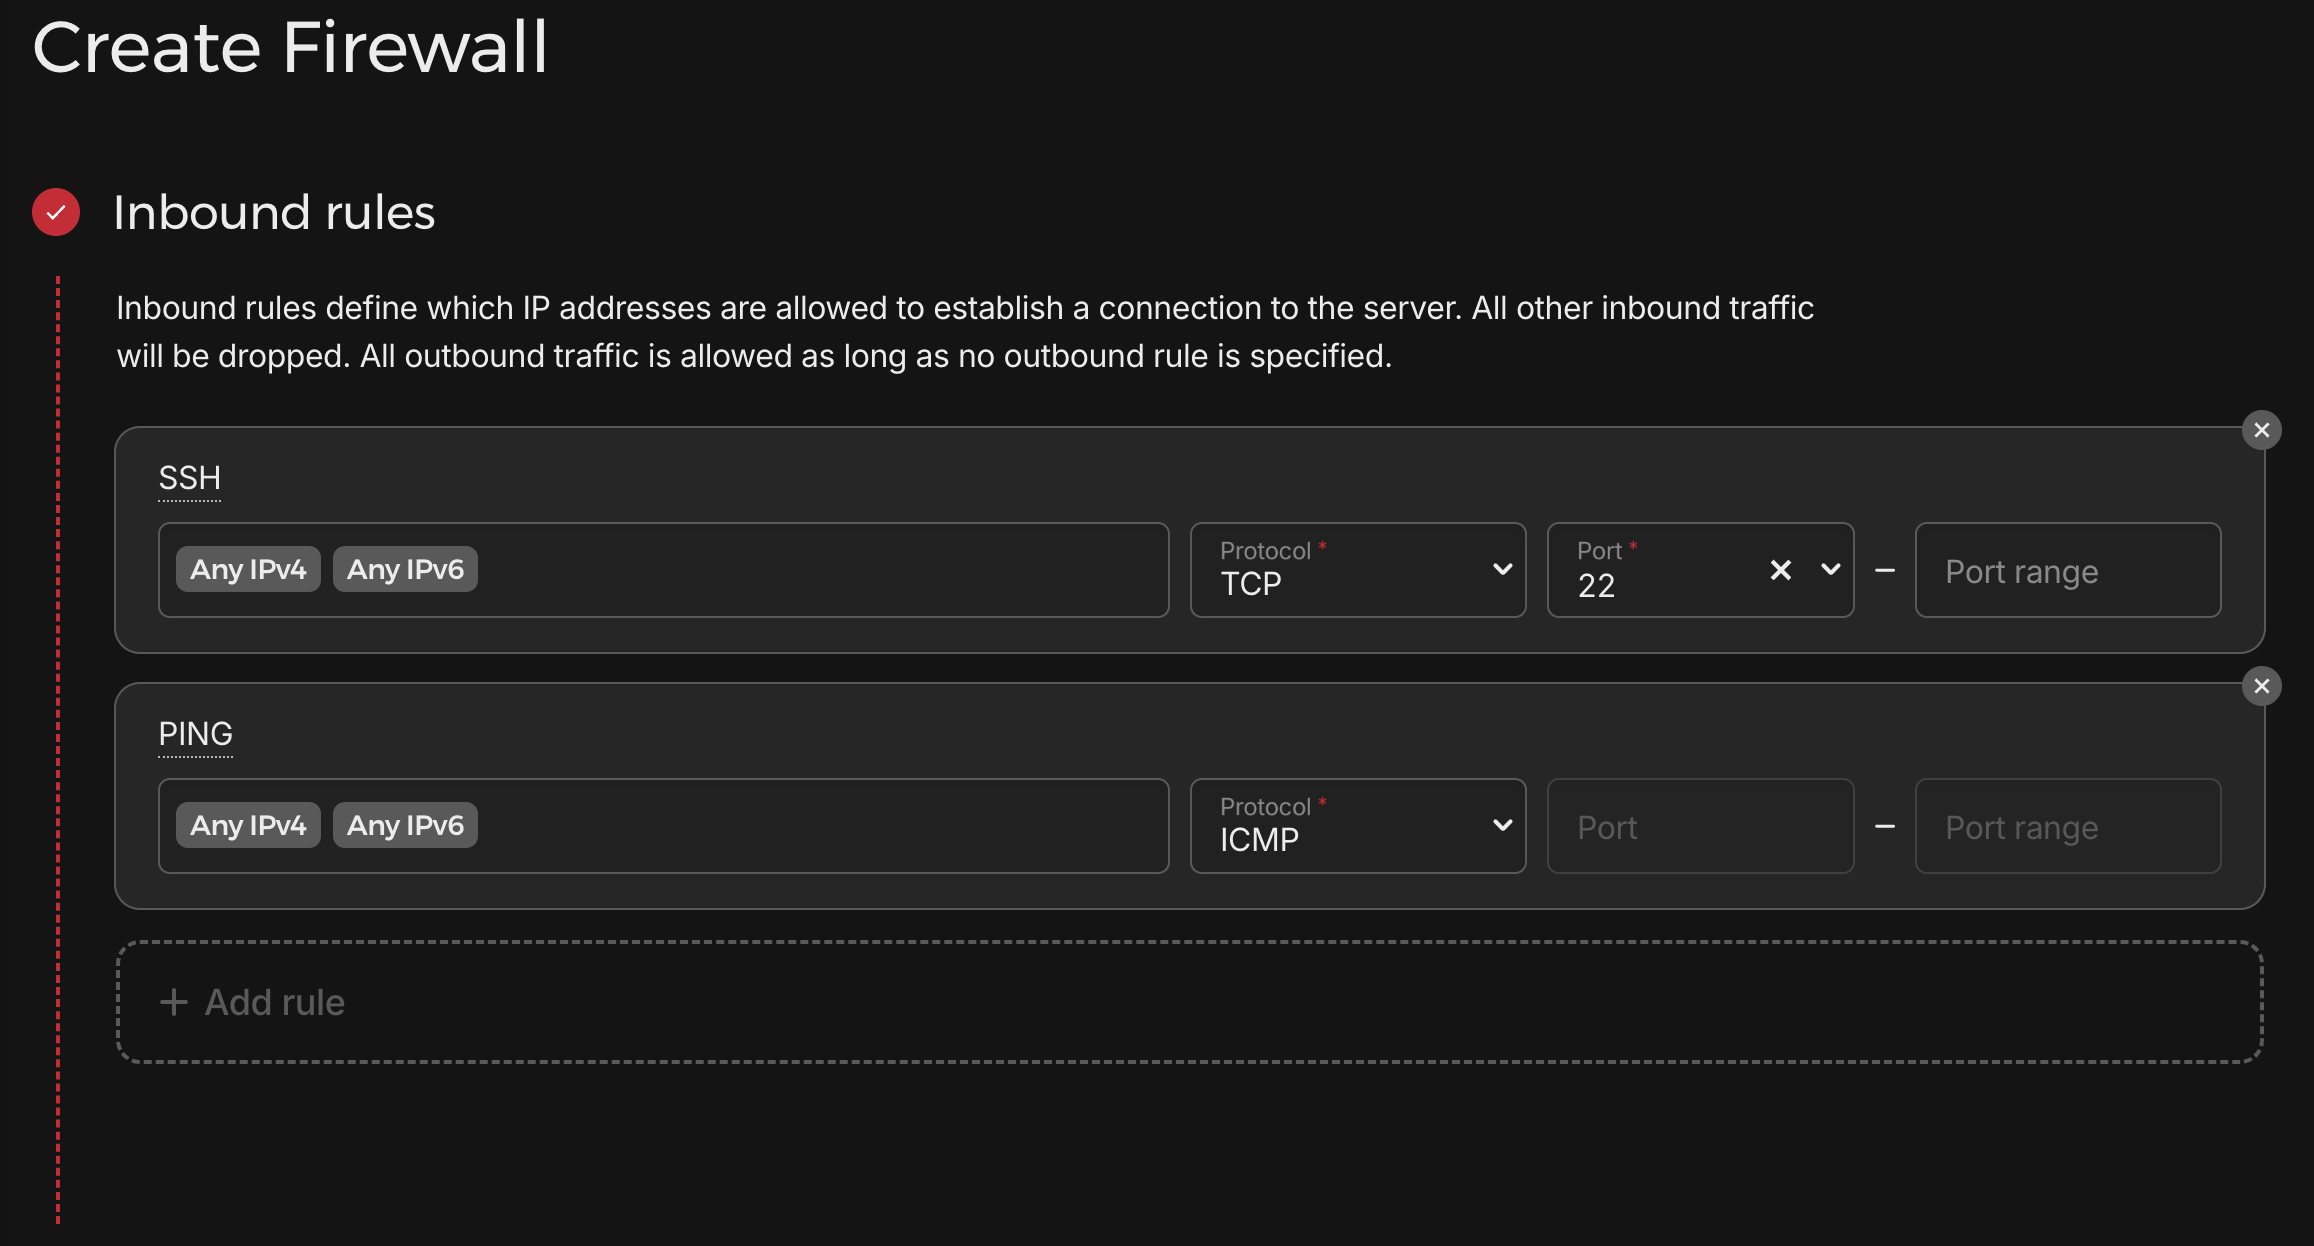
Set up a firewall
A firewall blocks all unwanted inbound traffic while keeping your bot's outbound connections open. You only need two inbound rules: SSH (so you can connect) and PING (for diagnostics).
From your project dashboard, click Create Resource → Firewalls:
Hetzner adds these two rules by default when you create a firewall. Leave them exactly as shown — don't add anything else:
Leave outbound rules empty (no rules = all outbound traffic allowed). This is what you want.
Give the firewall a name like openclaw-fw and click Create Firewall:

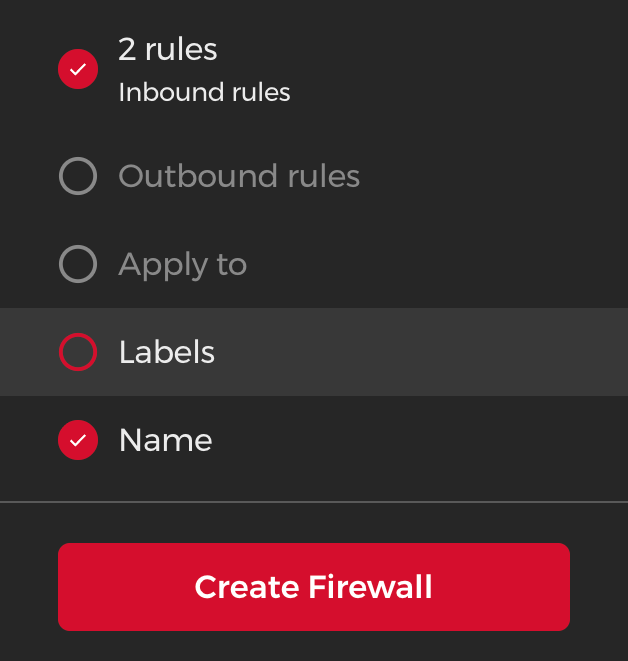
You can leave Apply to and Labels blank — the firewall will be applied to your VPS automatically when you create it.

Server ready.
Your Hetzner VPS is running, secured with SSH keys, firewall active, and Node.js installed. Next: install OpenClaw and connect to ClawMechanic.
Start Free Trial →